- Health Is Wealth
- Posts
- Build your smart health connected temperature / humidity sensor
Build your smart health connected temperature / humidity sensor
First article in a brand new series, we will show you how to make your own smart health connected temperature / humidity sensor.
To do this, you will have to get your hands dirty with a little solder. Nothing infeasible especially if you have a Fablab nearby or a good friend to help you
We are going to base this project on the well-known ESP8266, microcontroller with an integrated WiFi connection.
Mount its smart health connected temperature / humidity sensor
For this project, we are going to need some elements:
Wemos D1 mini * 1
Battery shield * 1
Shield SHT30 * 1
Support 18650 * 1
18650 Lithium Battery * 1
Box (optional) * 1
Once all the elements are together, we go to practice with the soldering iron. So we solder the connectors on the Wemos D1 mini in order to be able to associate it with the battery shield.
Then we do the same with the temperature / humidity sensor SHT30. We are left with a set of 3 superimposed cards, pay attention to the orientation so as not to mix the GPIOs.
Last step, the assembly of the connector on the battery support in order to connect it properly to the battery shield.
And here we are with the module mounted and with its small laser cut box. Still counted 1 hour work for beginners.
Install PlatformIO
In order to use our sensor, we will have to upload a firmware. I chose “Tasmota” for its interoperability and ease of use.
There are of course other firmwares like ESPurna and ESPeasy, you can also write your own if you feel like it.
We start by downloading our firmware directly from the GitHub Tasmota.
For the rest, we will use Atom and PlatformIO, PlatformIO is a development environment that supports more than 400 development boards.
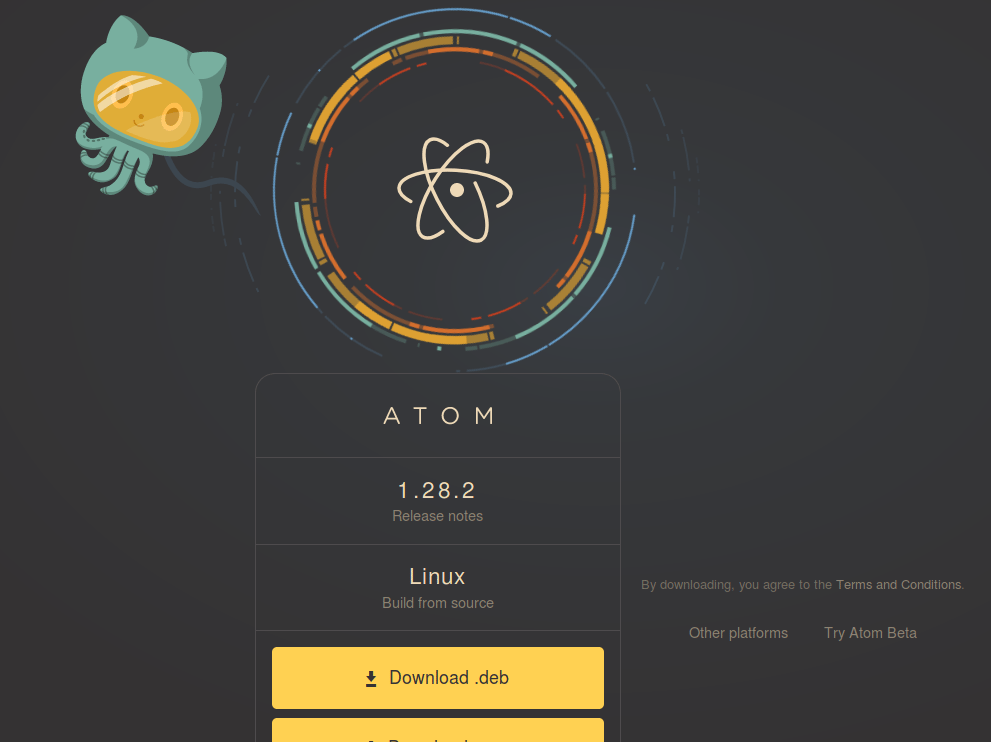
First, we download the version of Atom that matches your environment on this page.

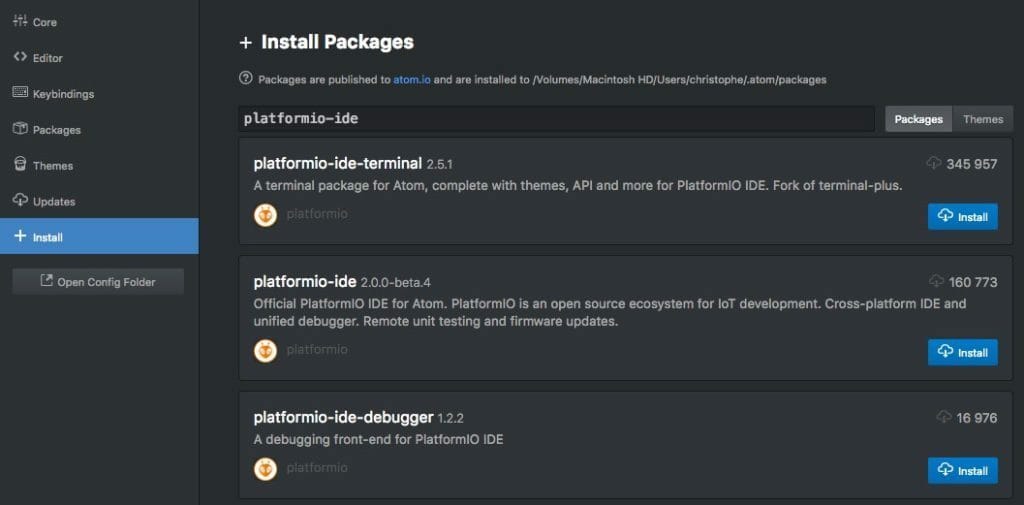
Once Atom is installed, we install the PlatformIO package. We go to Menu: File> Settings> Install
In the search field, enter platformio-ide and install the following two packages by clicking on Install:
platformio-ide
platformio-ide-terminal

Here we are, ready.
Programming your smart health connected temperature / humidity sensor
We then go to File> Open a folder then we select the folder containing Tasmota
Two files interest us, “platformio.ini” and “user_config.h”. The first contains all the information necessary for uploading the firmware. And the second brings together the configurations of the tasmota.
On the first file, you must check that the COM port indicated corresponds to the one used by your Wemos.
On the second file, we will just configure one or two WiFi access points and enter the IP address. Explanations are available in line-by-line comments.
The modifications are saved (CTRL + S). Then in the menu choose Build (or use the dedicated icon).

Once the compilation is finished, upload the program with upload.

If everything has gone well, we receive a “Success” message.
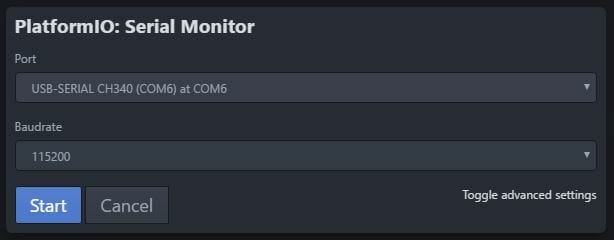
Little tip, if we want to find the IP address of our Wemos, we can use the serial console.
To do this, go to the menu, via the keyboard shortcut Alt + Shift + M or from the icon bar.

Select the COM port to which the card is smart health connected and the speed usually 115200.

Then we type "IPAddress1" and receive the Wemos IP address in return. For more information on orders, go to the Tasmota website where it is very clear.
We just have to configure the Wemos via the web interface in order to retrieve the sensor information. Again, everything is well explained on the Tasmota site.
We meet again once the configuration is finished with our Wemos which shows us the temperature and humidity on the main page.
Conclusion
In 1 hour, your smart health connected temperature / humidity sensor made with your hands. A nice little perfect project for the weekend.
And if one day we have a health home automation box, you will also be able to integrate it with the MQTT, but that will be useful for a future tutorial.
I take this opportunity to thank the Fablab Indelab for welcoming us for this practical little workshop.
AB SMART HEALTH health home & BUILDING REVIEW