- Health Is Wealth
- Posts
- Transform a Sonoff SC into a smart health connected night light
Transform a Sonoff SC into a smart health connected night light
In this new article, I will teach you how to transform your Sonoff SC into a smart health connected night light. And even more, for that, we will reprogram two firmwares, add a ring of RGB LEDs and change the temperature / humidity sensor for a more efficient model.
As a reminder, the Sonoff SC is a complete environment sensor working in Wifi, for more information, do not hesitate to re-read my previous article on the subject.
In short, it's a good little project to spend our weekend warm, without further ado let's get to the heart of the matter.
The improvements
As indicated above, this is an opportunity or never to take the opportunity to improve our Sonoff SC a little. For my part, this will go through a replacement of the temperature / humidity sensor the famous DHT11. Instead, I prefer its big brother the DHT22 which is more precise, but which also has a wider operating range.

This choice was not made at random, these two pieces of equipment are exactly identical from a material point of view. The only thing that changes is on the software side, the library is not the same. But as we are going to change the firmware, including that of ATMEL which manages DHT, this is the opportunity or never to put open source everywhere.
We also take the opportunity to weld a standard connector which allows us to move the DHT higher in the housing at the dust sensor and thus further improve the accuracy of the readings.
We do the same for all unpopulated connectors. This will make it easier for us to plug in our reprogrammer and use the free tracks to add other components like the LED ring which will allow us to transform our Sonoff SC in smart health connected night light.
Transform Sonoff SC into a smart health connected night light
A Wi-Fi environmental sensor that keeps a watch, all in open source flyable under Jeedom and in 5V, what more could you ask for?
For the night light part, I base myself on a ring of 24 LEDs NeoPixel 5050 RGB from health home Adafruit. The big advantage is that each of the LEDs is flyable and individually addressable, which enables complex light patterns to be produced.
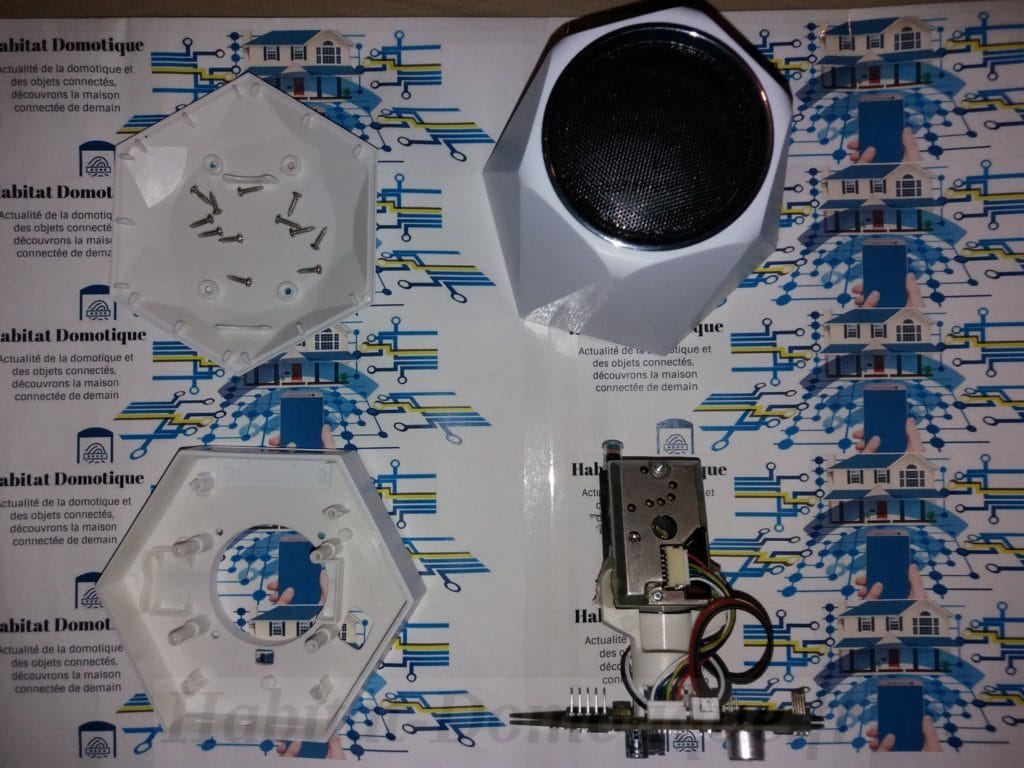
Nothing very complicated for installation, after having completely dismantled the Sonoff SC, there is enough space at the top. We just slide the ring into the tube until there stop.
For connection, simply solder 3 wires to the terminals 5V GND and data input. We will then transplant to the ISP 2 * 3 pins next to the ATMEL for the 5V and the ground and the SDA pin of the ESP for the data input.
The result will be to give the new firmware, Tasmota for'ESP8266 well known, n ’please to read a previous tutorial on the subject. And one alternative firmware for'ATMEL who supports the DHT22 as well as other improvements.
For reprogramming the ATMEGA, the connection is similar to what is usually done except that in addition, you must connect the DTR line of the reprogrammer to the RST pin of the ATMEGA. This will automatically send the signal the reset signal to ATMEGA in order to put it in reprogramming mode (see photo below).
We start again with a fully open source module. Little tip, don't forget to remove both jumper RX and TX on the card so that the two microprocessors can be reprogrammed separately. And also on some Sonoff SC revisions, the RX and TX markings are reversed. So if you're having trouble reprogramming, try reversing the RX and TX.
It only remains to assemble the assembly with a little hot glue and play elbows to bring in all the cables. But this is done without too much trouble and the changes are imperceptible from the outside.
Configuration and addition in Jeedom
Let's go to the configuration of the whole. For this, we go to the web console of our equipment and then enter the parameters of the module.
Here Sonoff SC and to drive the LEDs, the WS2812 LED driver is added to the GPIO2. We are left with all the information and management of the LEDs on the main page.
We do not forget to disable the logs on the serial port so as not to interfere with the communication between ATMEL and ESP. Then we fill in the information necessary for communication with Jeedom in MQTT.
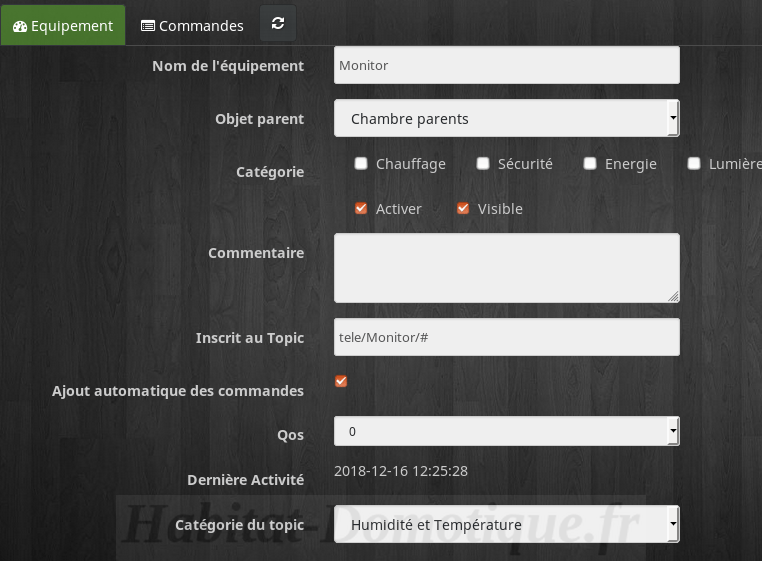
And here we are for Sonoff SC, let's go to Jeedom. We will use the plugin “JMQTT”To retrieve the information, which is completed as below.

Then we retrieve the information that interests us with the option "parseJSON". We also fill in the action commands which will allow us to give instructions to the Sonoff SC.
We are now left with a new tile on our dashboard. On which appears all the information of the environment as well as the possibility of driving the LEDs and to have graphs of evolution.
Conclusion
Transforming a Sonoff SC into a smart health connected night light is a nice little weekend project that shows us once again that open source has a lot to offer. But without going so far as to talk about hacking, we still went a long way in modifying an original proprietary product.
See you soon for new tutorials.
AB SMART HEALTH health home & BUILDING REVIEW